Tutorial: Your first microscope
Learning-oriented. Follow along start to finish — by the end you will have a micrograph taken with your own phone. About 45 minutes.
In this tutorial you'll build the smartphone microscope: a real microscope with a genuine 4× objective, fine focus via the geared Z-stage, and your phone as the camera. This is the setup where most people say "wow" out loud.
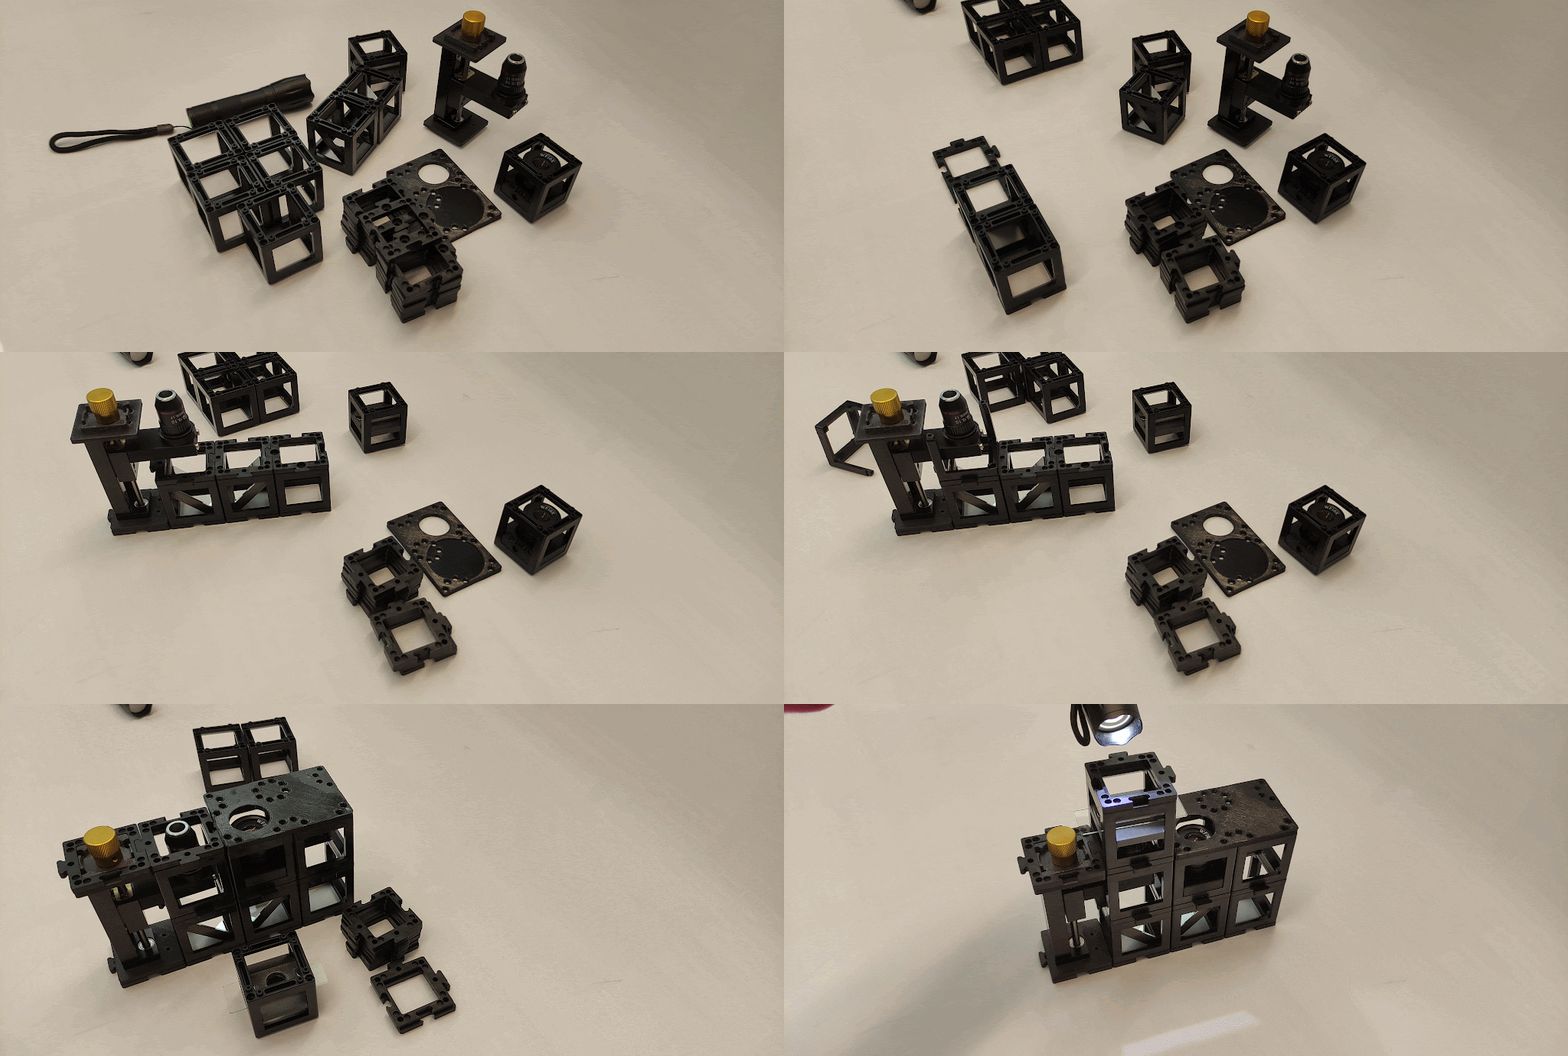 Focusing the smartphone microscope with the Z-stage gear.
What you need
From the CoreBox:
- 4× microscope objective and the Z-stage cube (geared mount)
- Eyepiece cube (Ramsden eyepiece)
- 2× 45° mirror cubes
- Sample holder cube with a prepared sample
- One 50 mm lens cube (as condenser above the sample)
- 3 empty cubes
- 11 puzzle base plates + the smartphone holder plate
- Torch with holder
- Your smartphone
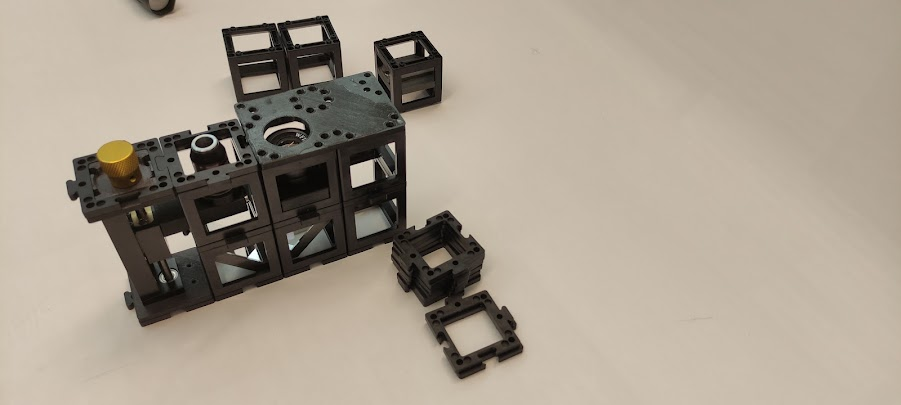
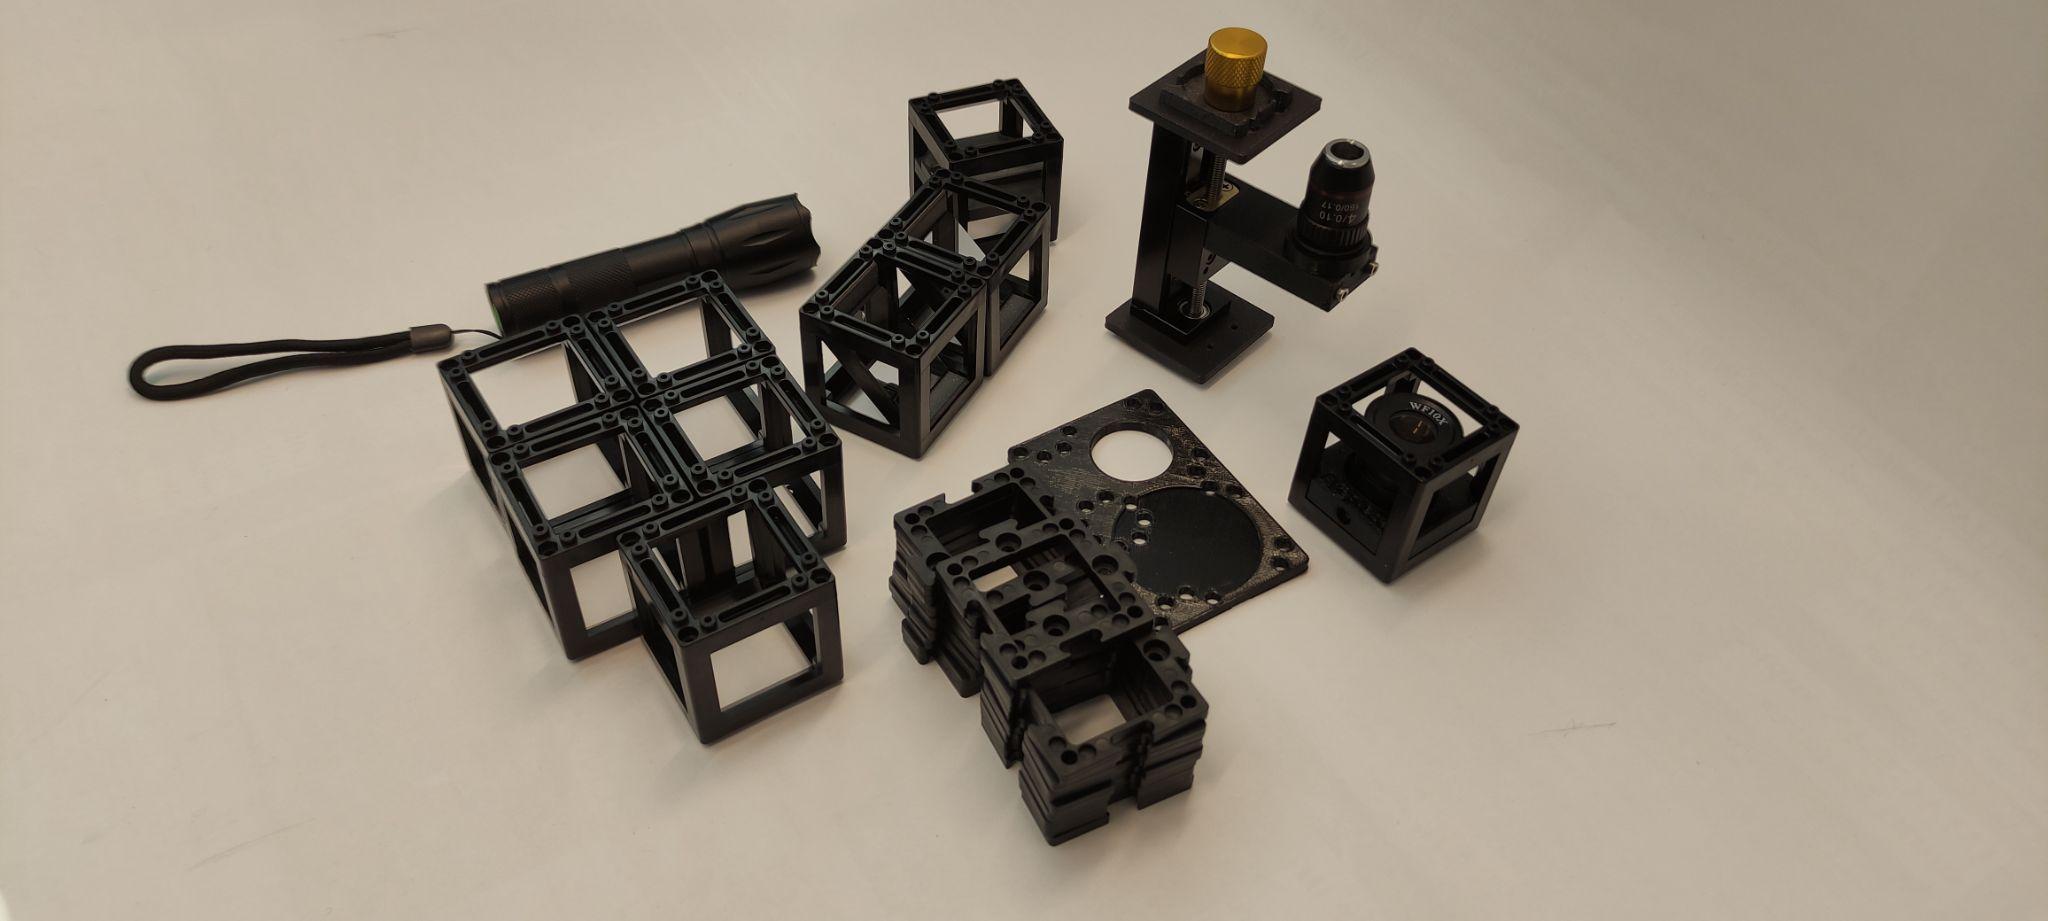 All parts laid out.
The plan (side view)
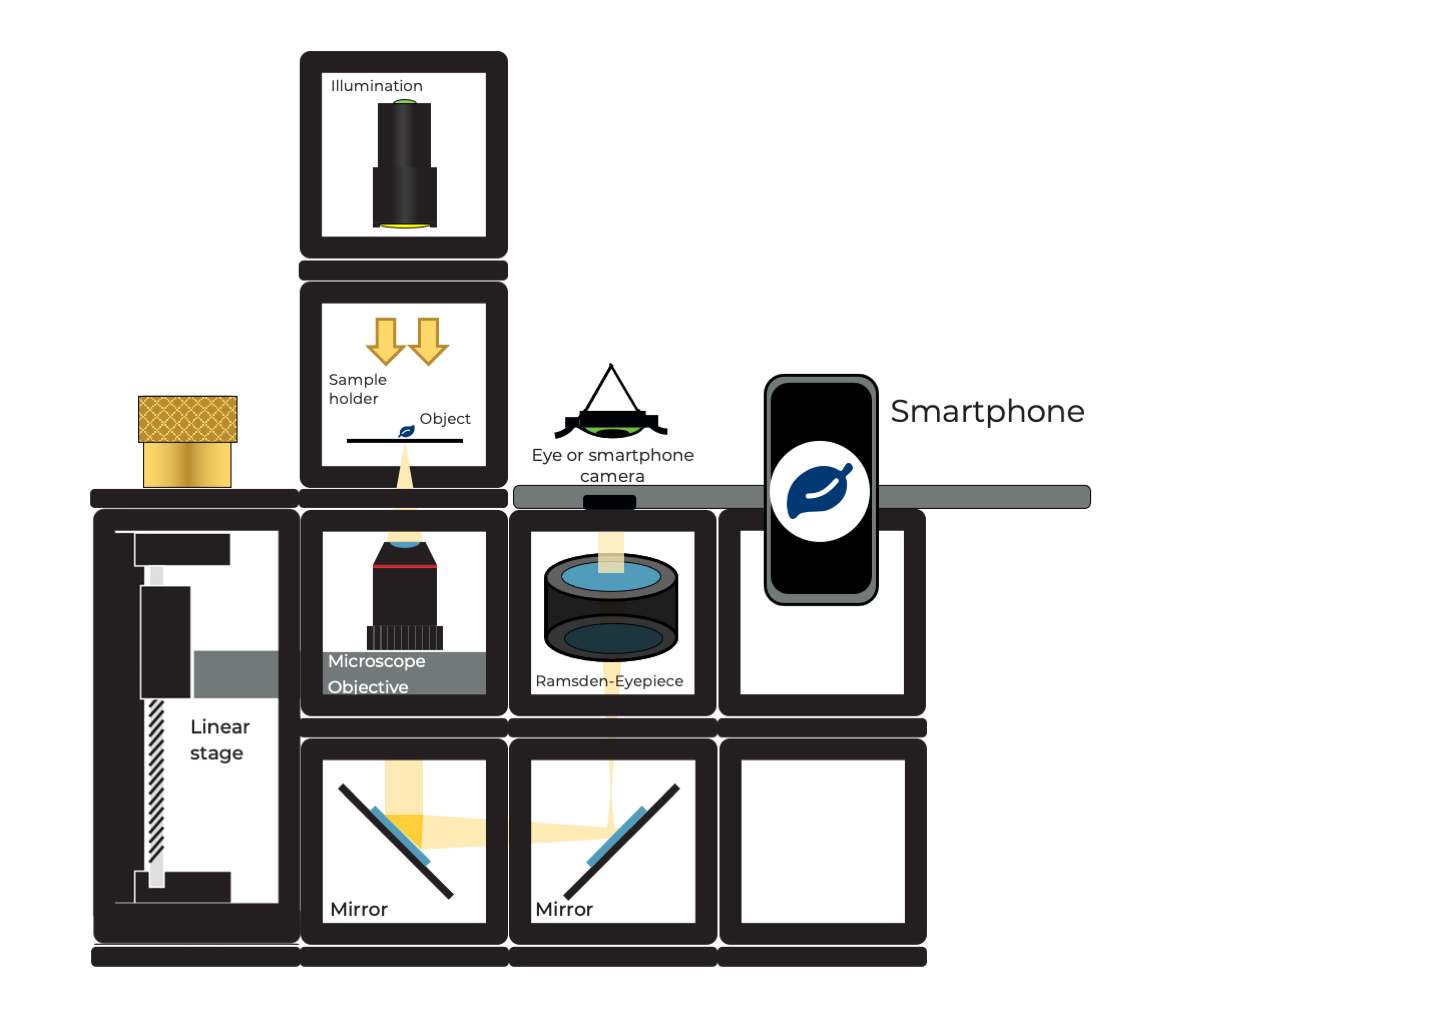 Light path: torch → condenser lens → sample → 4× objective → two mirrors fold the
beam → eyepiece → smartphone camera.
Light path: torch → condenser lens → sample → 4× objective → two mirrors fold the
beam → eyepiece → smartphone camera.
Step 1 — Prepare the Z-stage
The Z-stage insert may need to be rotated by 90° inside its cube so the objective points upward. Then screw the 4× objective into the RMS thread.
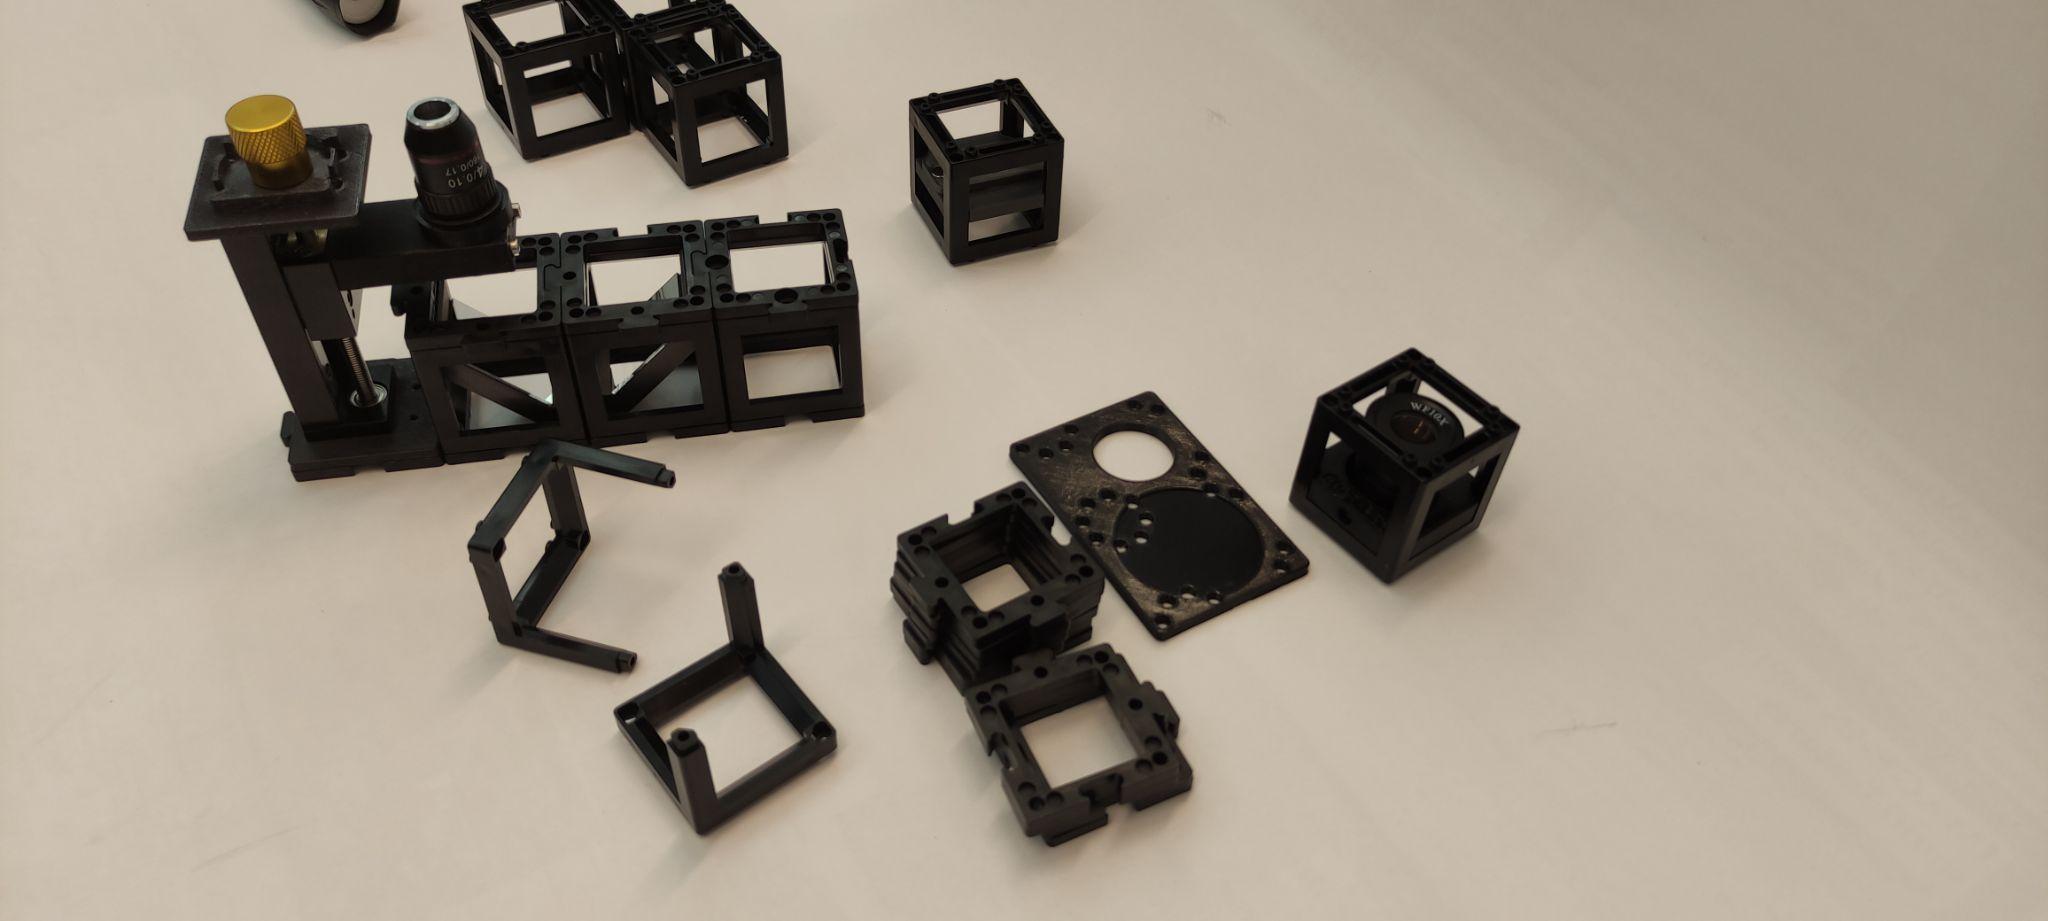
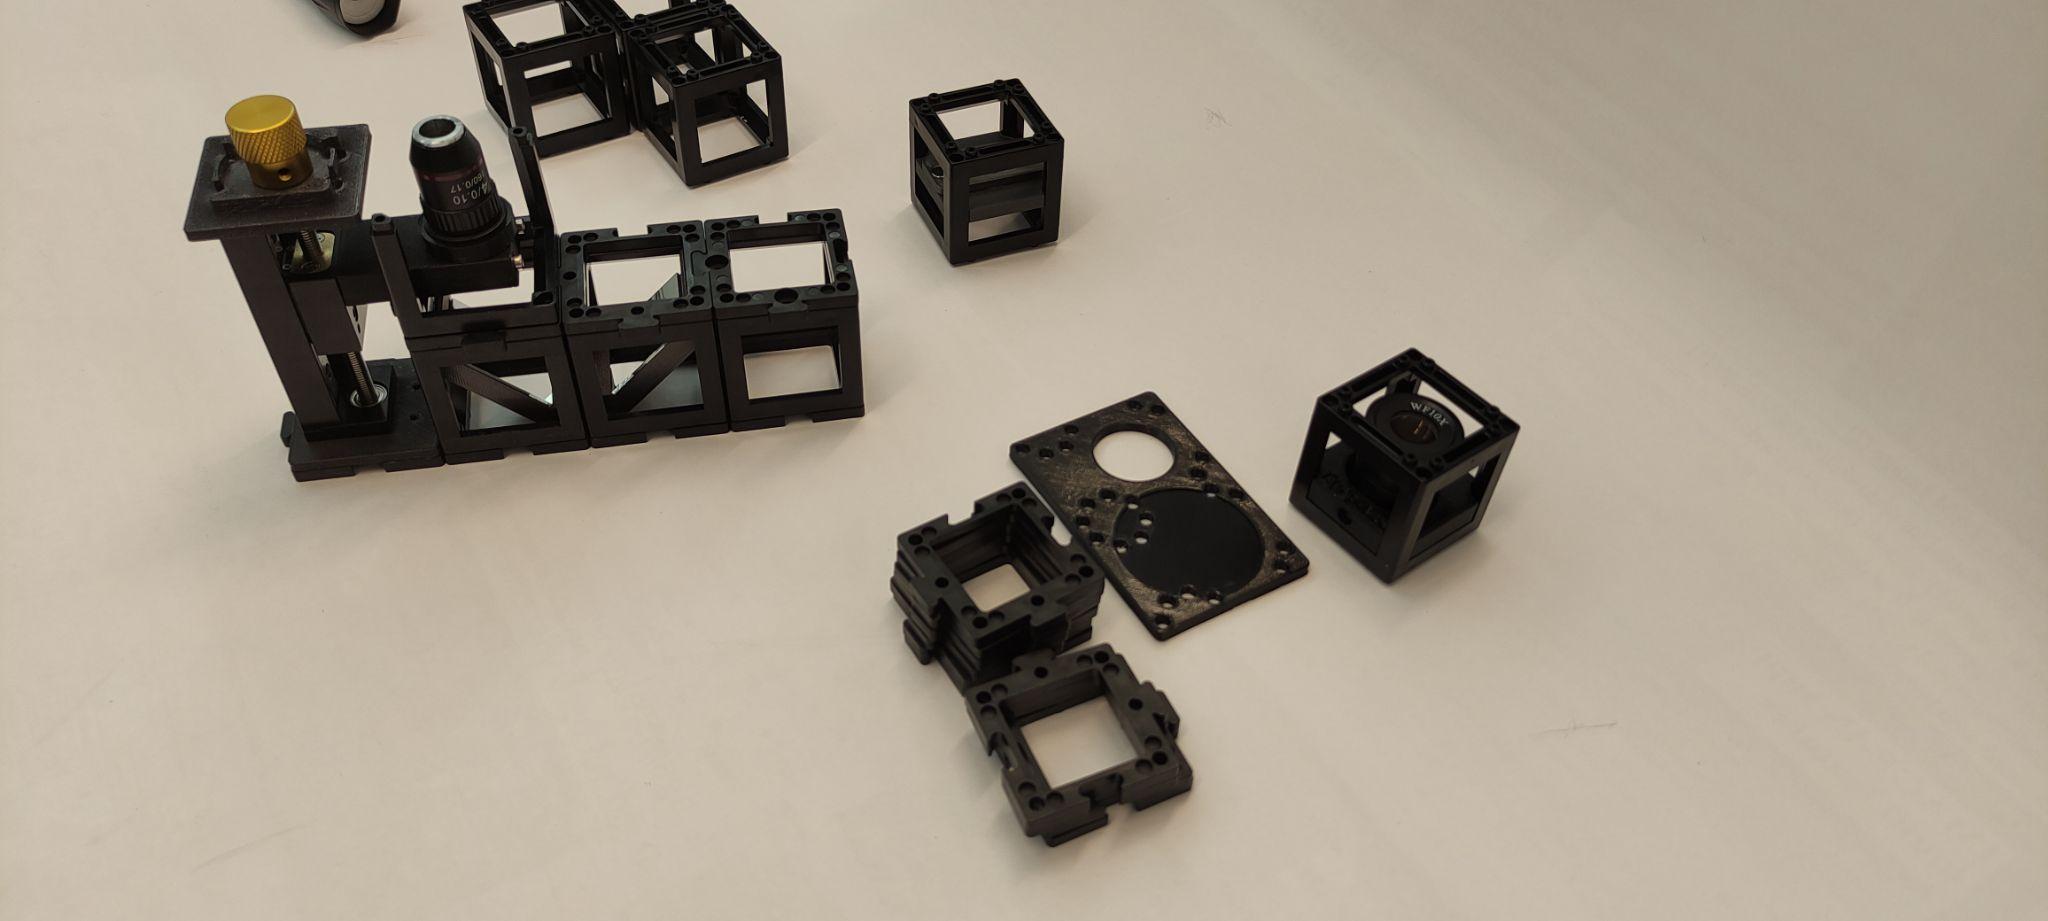
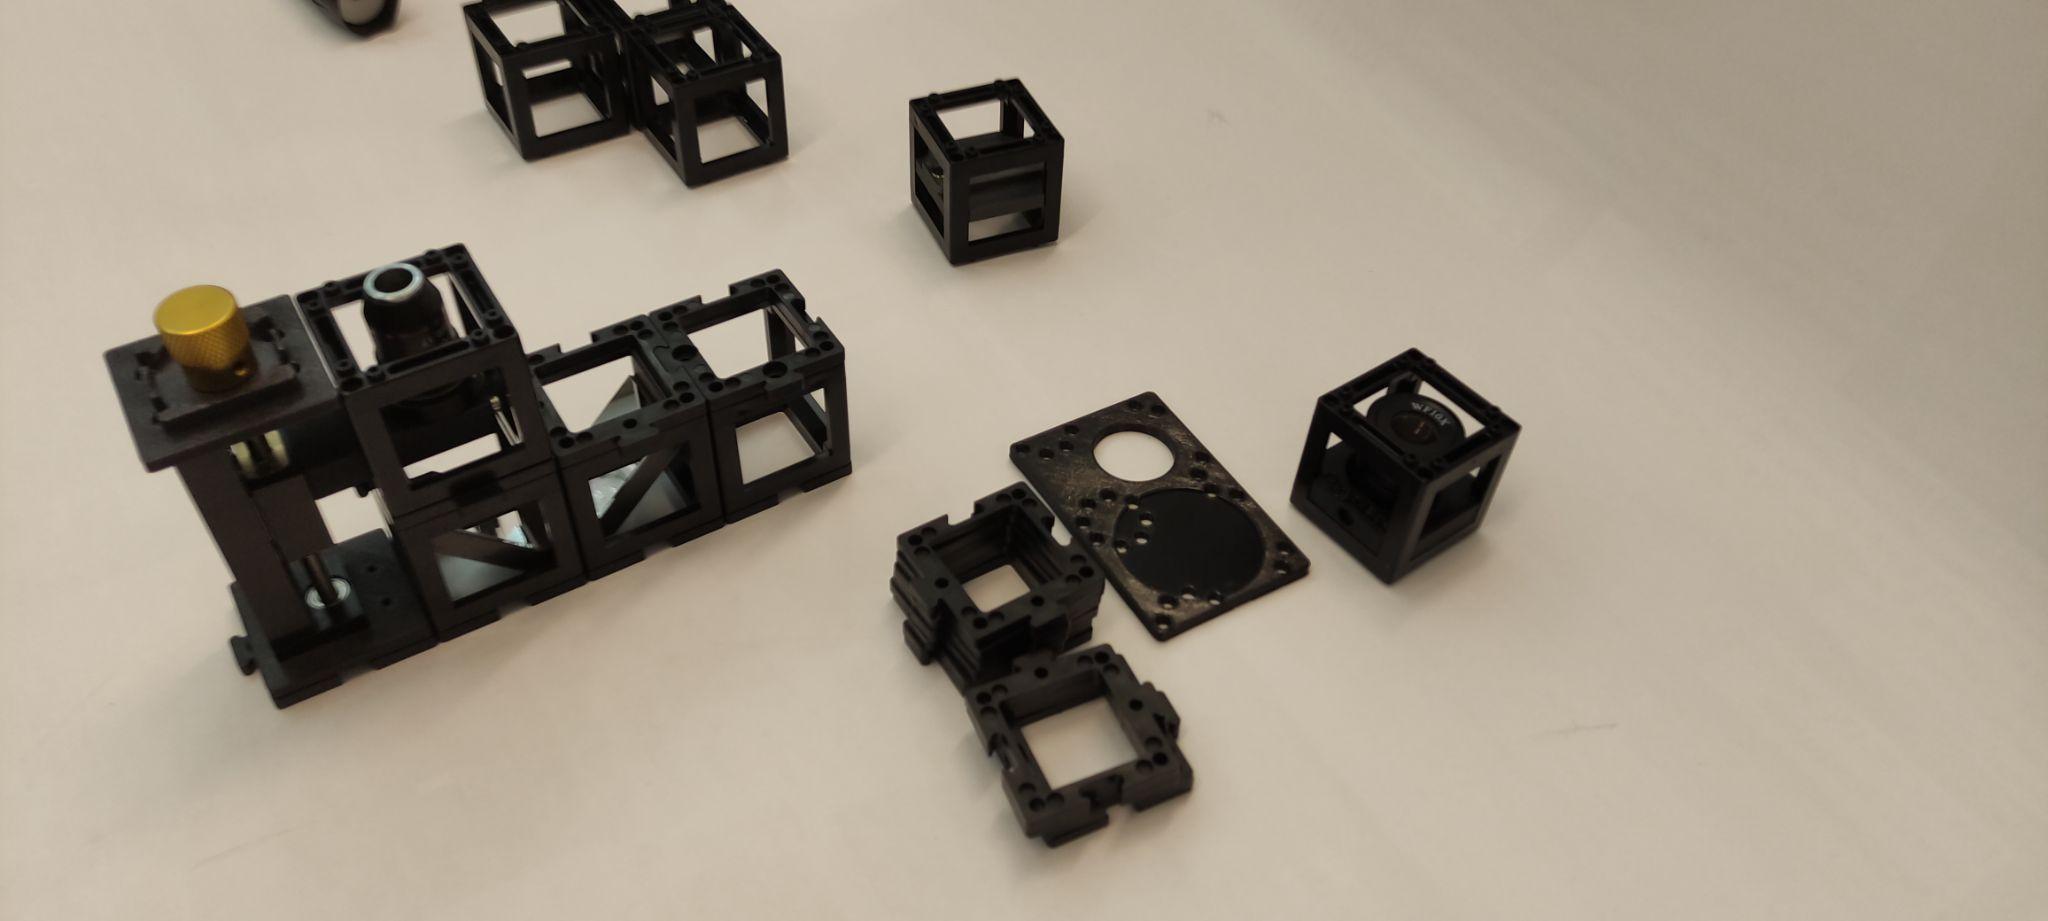 Objective screwed into the Z-stage; the small gear moves it up and down.
The Z-stage has two threaded holes, offset by 5 mm. Use the one that puts the objective at the correct height for your build — if there is a puzzle plate between the Z-stage cube and the next cube, use the hole closer to the edge.
Step 2 — Build the horizontal beam path
Click four base plates in a row. Place, in order: the Z-stage/objective cube, the two mirror cubes facing each other (they periscope the light along the row), and one empty cube. Fix everything with plates on top.
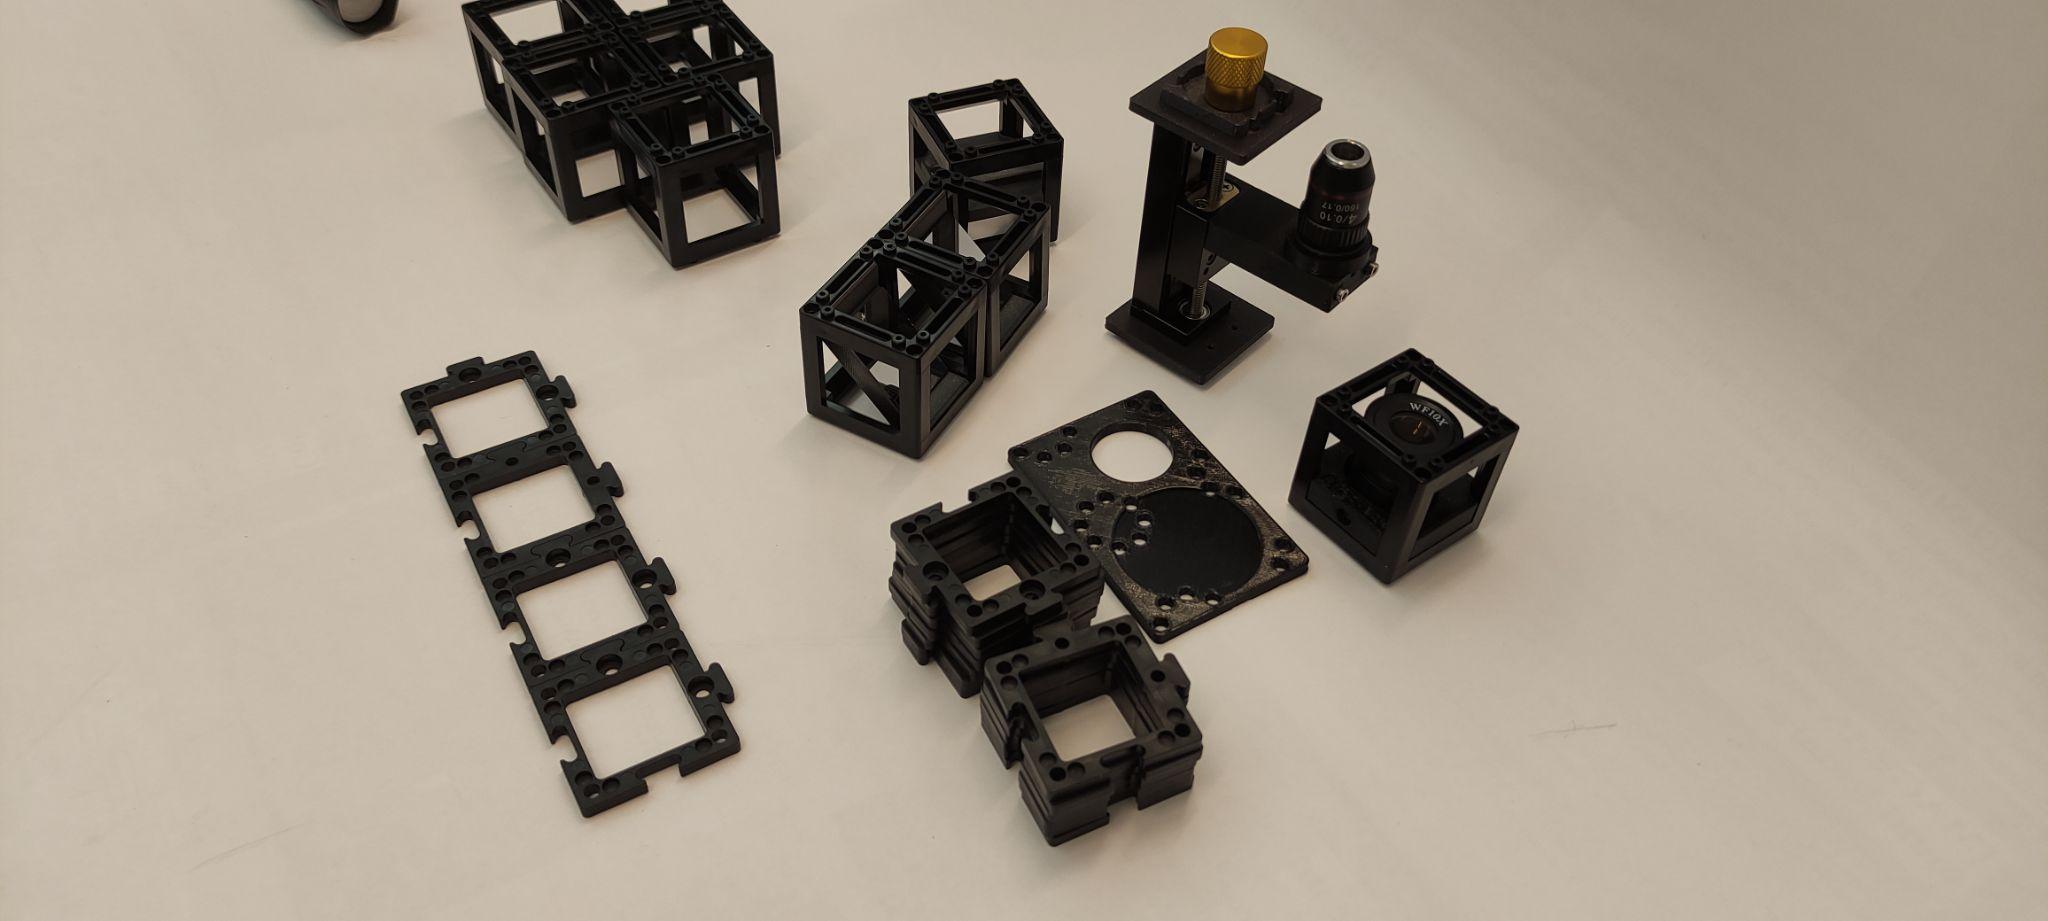 The base-plate row.
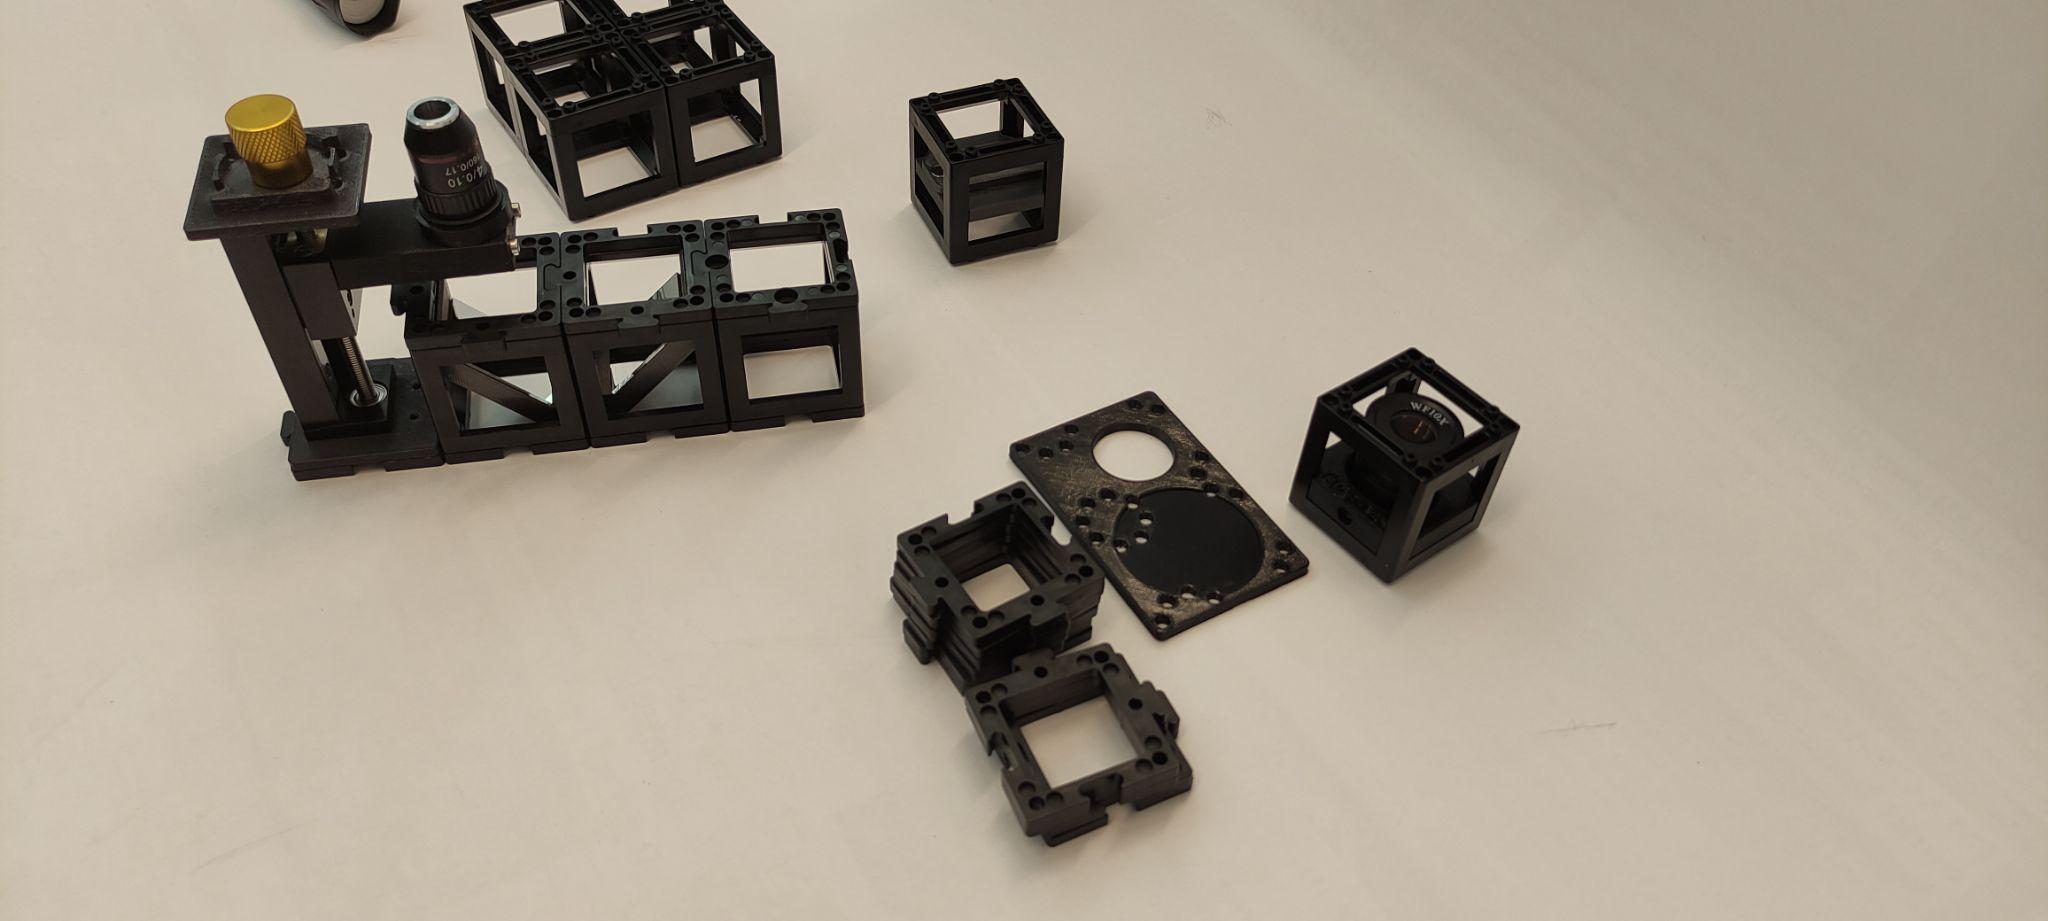 Objective cube, the two mirrors, and an empty cube, locked with plates.
Each 45° mirror must reflect the light 90° in the right direction — the light comes down from the objective, travels along the row, and goes up to the eyepiece. If a mirror faces the wrong way, open the cube and re-seat the insert: Open and reconfigure a cube.
Step 3 — Add the eyepiece
Place the eyepiece cube above the second mirror (with an empty cube as spacer if your geometry needs it). Mind the orientation of the eyepiece — the wider lens faces down, towards the mirror.
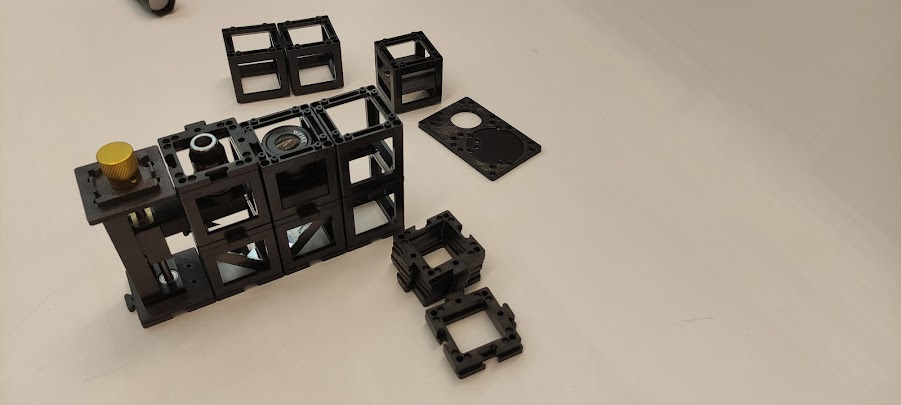
Add a close-up photo of the eyepiece insert showing clearly which side is "down". This was a specific point of user feedback: with the current photos you cannot tell the orientation of the parts.
Step 4 — Sample, condenser, light
- Put the sample holder cube on top of the objective. Lift the top magnet, slide the prepared slide between the magnets, sample centred over the objective.
- Put the 50 mm lens cube on top of the sample holder (it concentrates the light).
- Set the torch in its holder on top, pointing down.
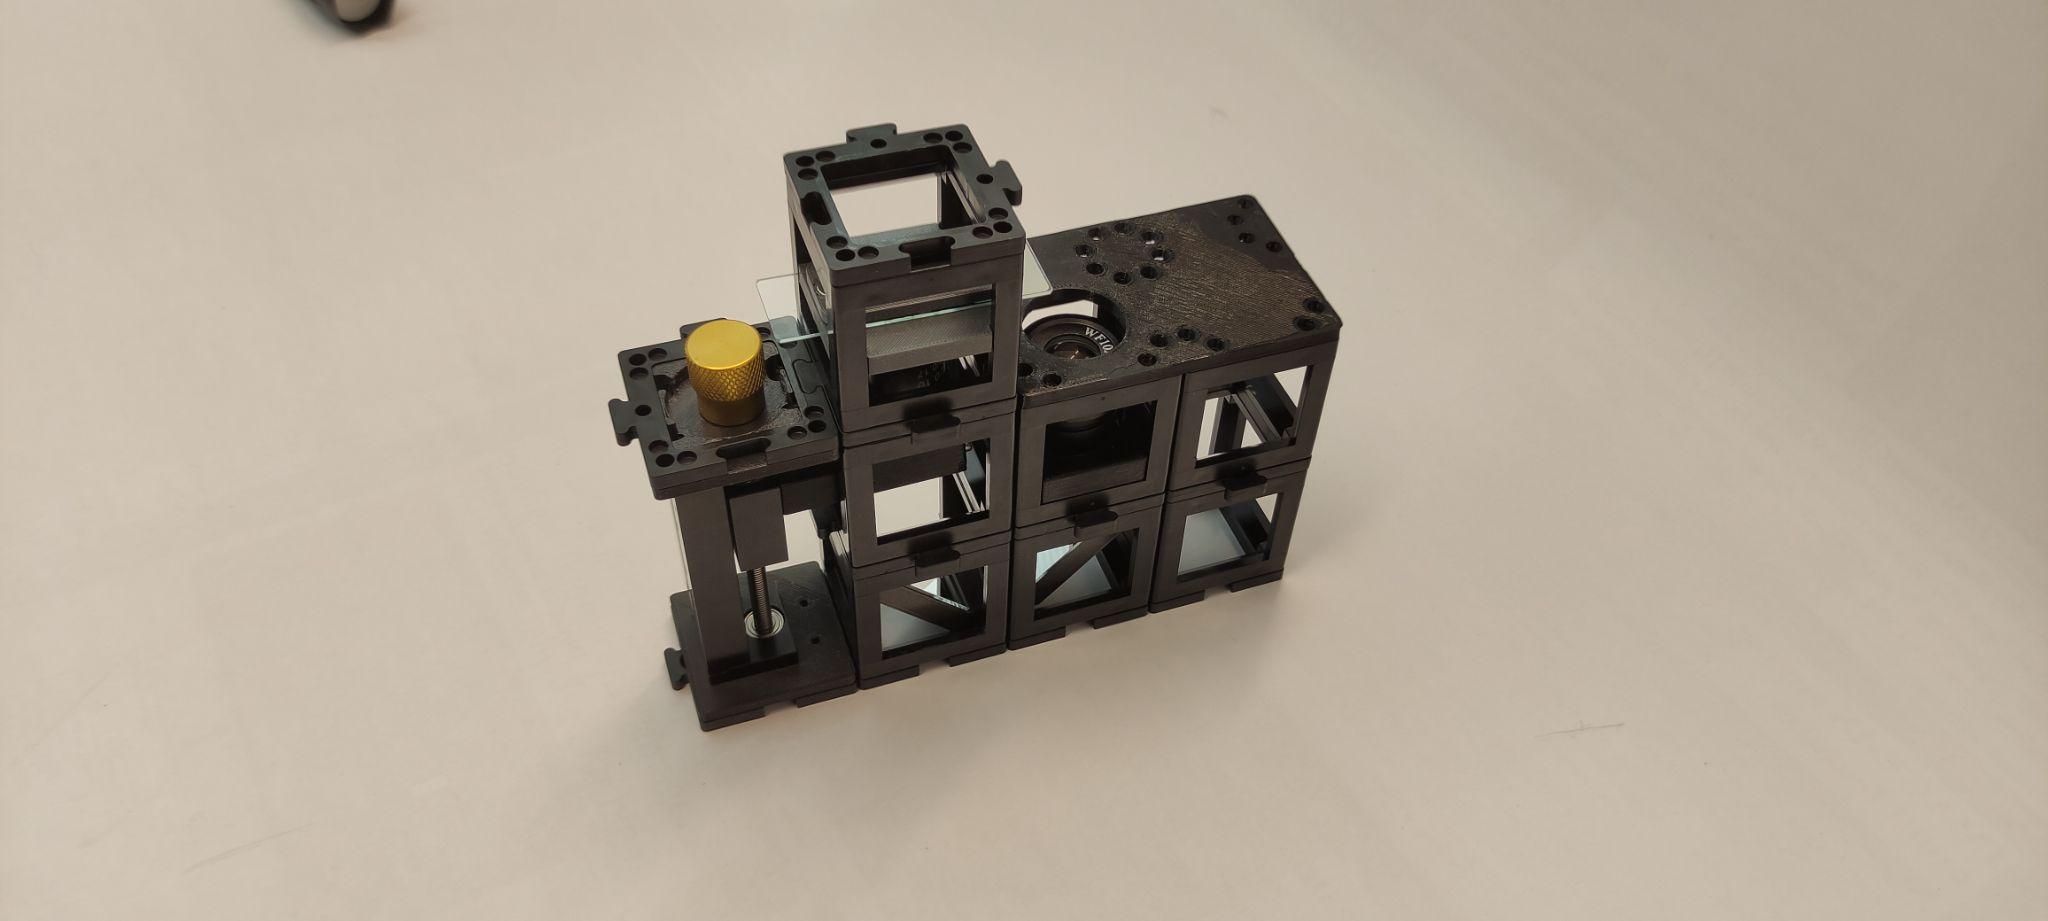 Sample holder above the objective — coarse height by sliding, fine height by gear.
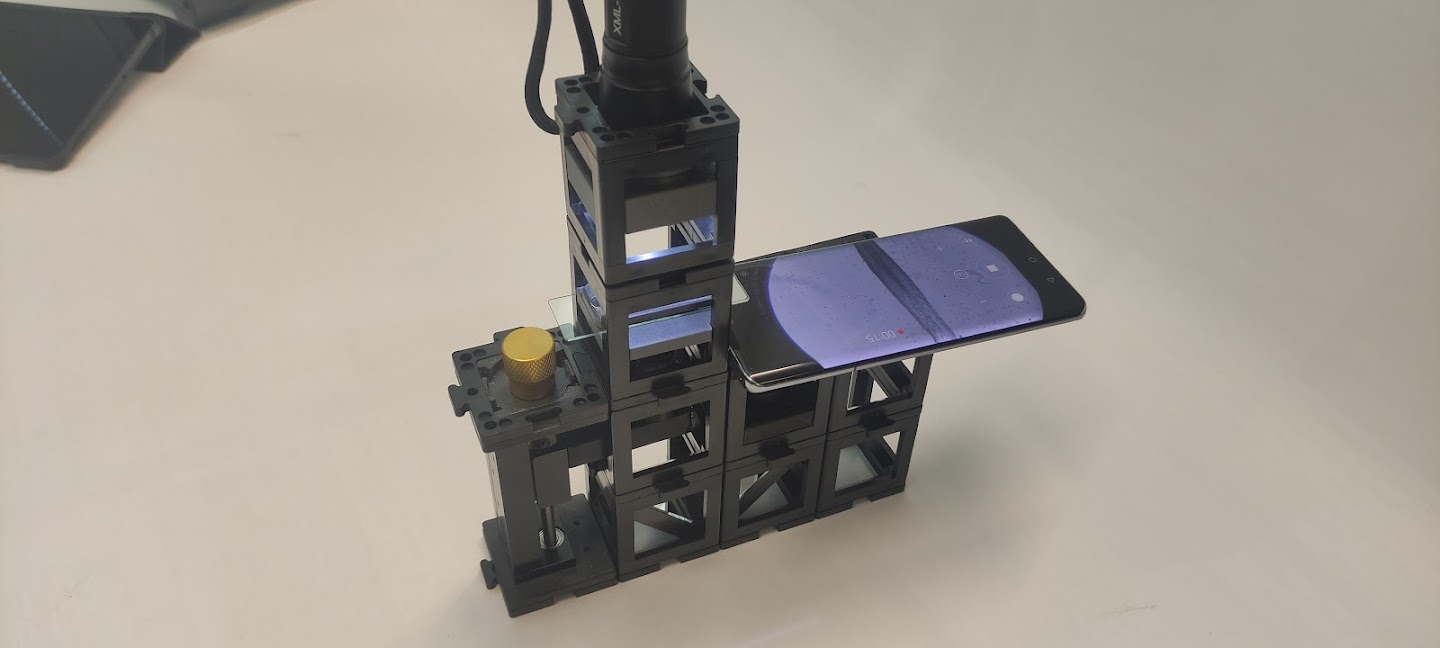 The full stack: torch → condenser → sample → objective.
Switch the torch to its constant bright mode (click through the blink modes).
Step 5 — Look with your eye first
Before the phone: look into the eyepiece and slowly turn the Z-stage gear until the sample comes into focus. If you see nothing, nudge the slide so the sample really is over the objective, and check that both mirrors send the light your way.
Step 6 — Add the smartphone
Lay the smartphone holder plate over the eyepiece, camera lens aligned with the eyepiece opening, and slide the phone until the whole eyepiece circle is bright on screen.
 The camera must sit exactly on the eyepiece axis.
Then turn the Z-stage gear for final focus — and take the picture.
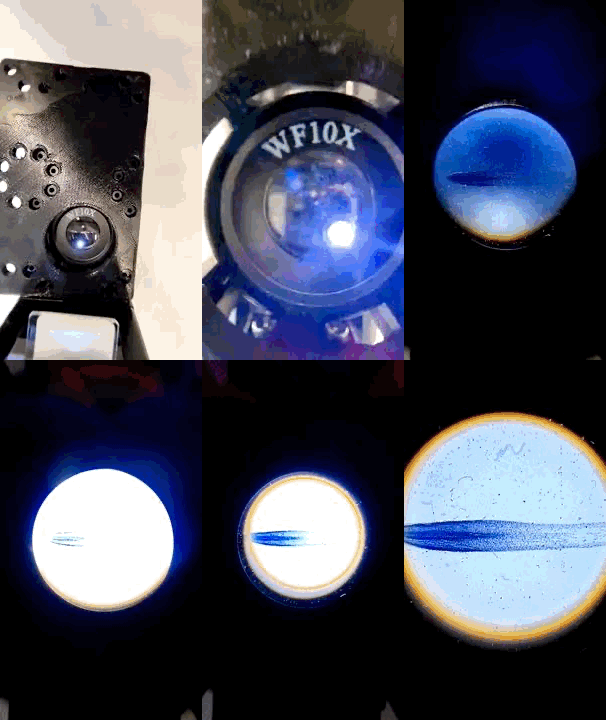 Fine-focusing while watching the phone screen.
You did it. That's a real micrograph — roughly 4 µm-sized details resolved — taken with hardware you assembled from cubes.
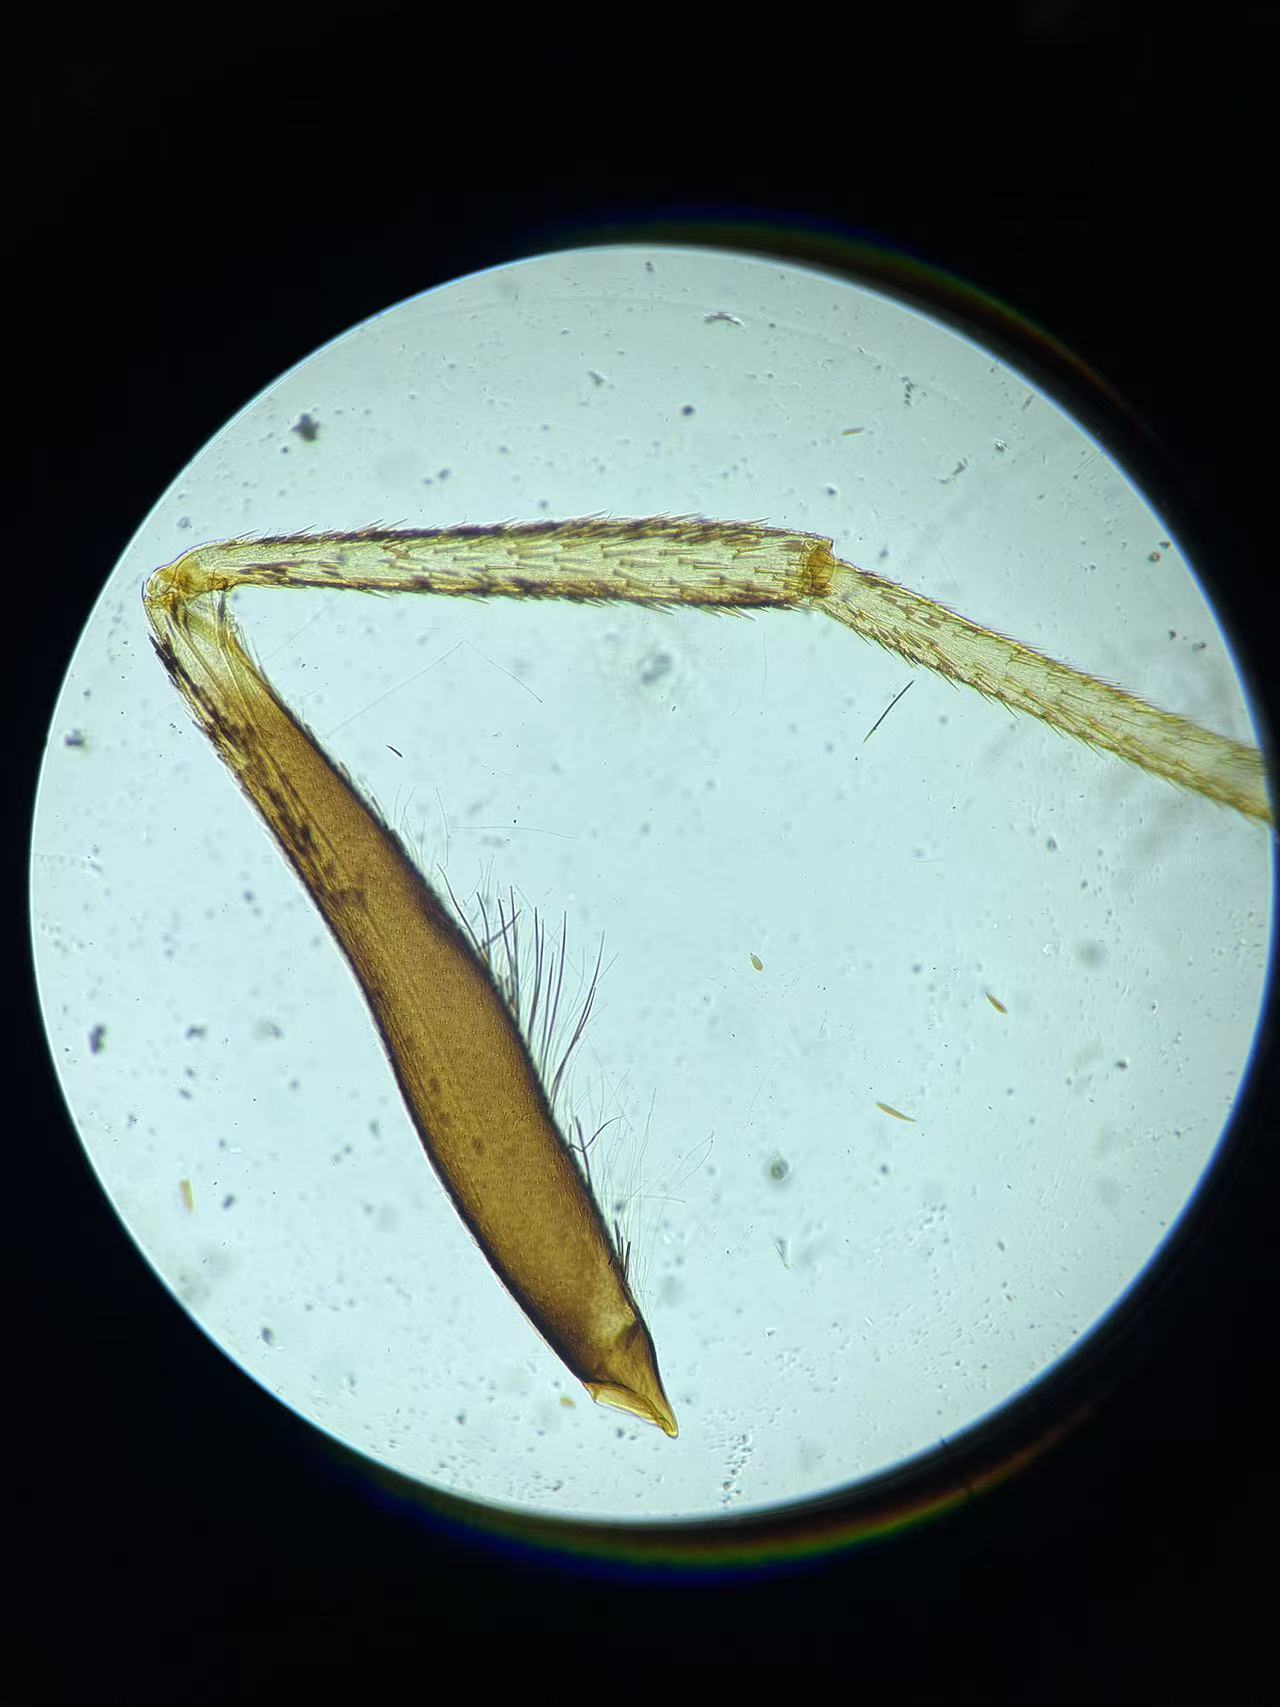 What a prepared sample can look like through the CoreBox smartphone microscope.
If the image disappoints
Stripes, glare, dark corners, low contrast — all of them have simple causes and two-minute fixes: → Troubleshoot the smartphone microscope.
Try this
- Zoom digitally on the phone — how far can you go before it gets mushy?
- Move the torch sideways and watch shadows appear: you've discovered oblique (darkfield-ish) illumination.
- Replace the Ramsden eyepiece with a bare 50 mm lens. Which is better for the eye, which for the phone? (The Ramsden's two-lens design gives a flatter, cleaner field — How a microscope works explains why.)
- Measure your magnification with the calibration ruler → Calibrate the magnification.
- Make your own sample with the blank slide, tweezers and pipette → Prepare your own sample.
What's next?
- How does it actually work? → How a microscope works
- The classroom versions with the eye instead of the phone → infinity microscope and finite microscope